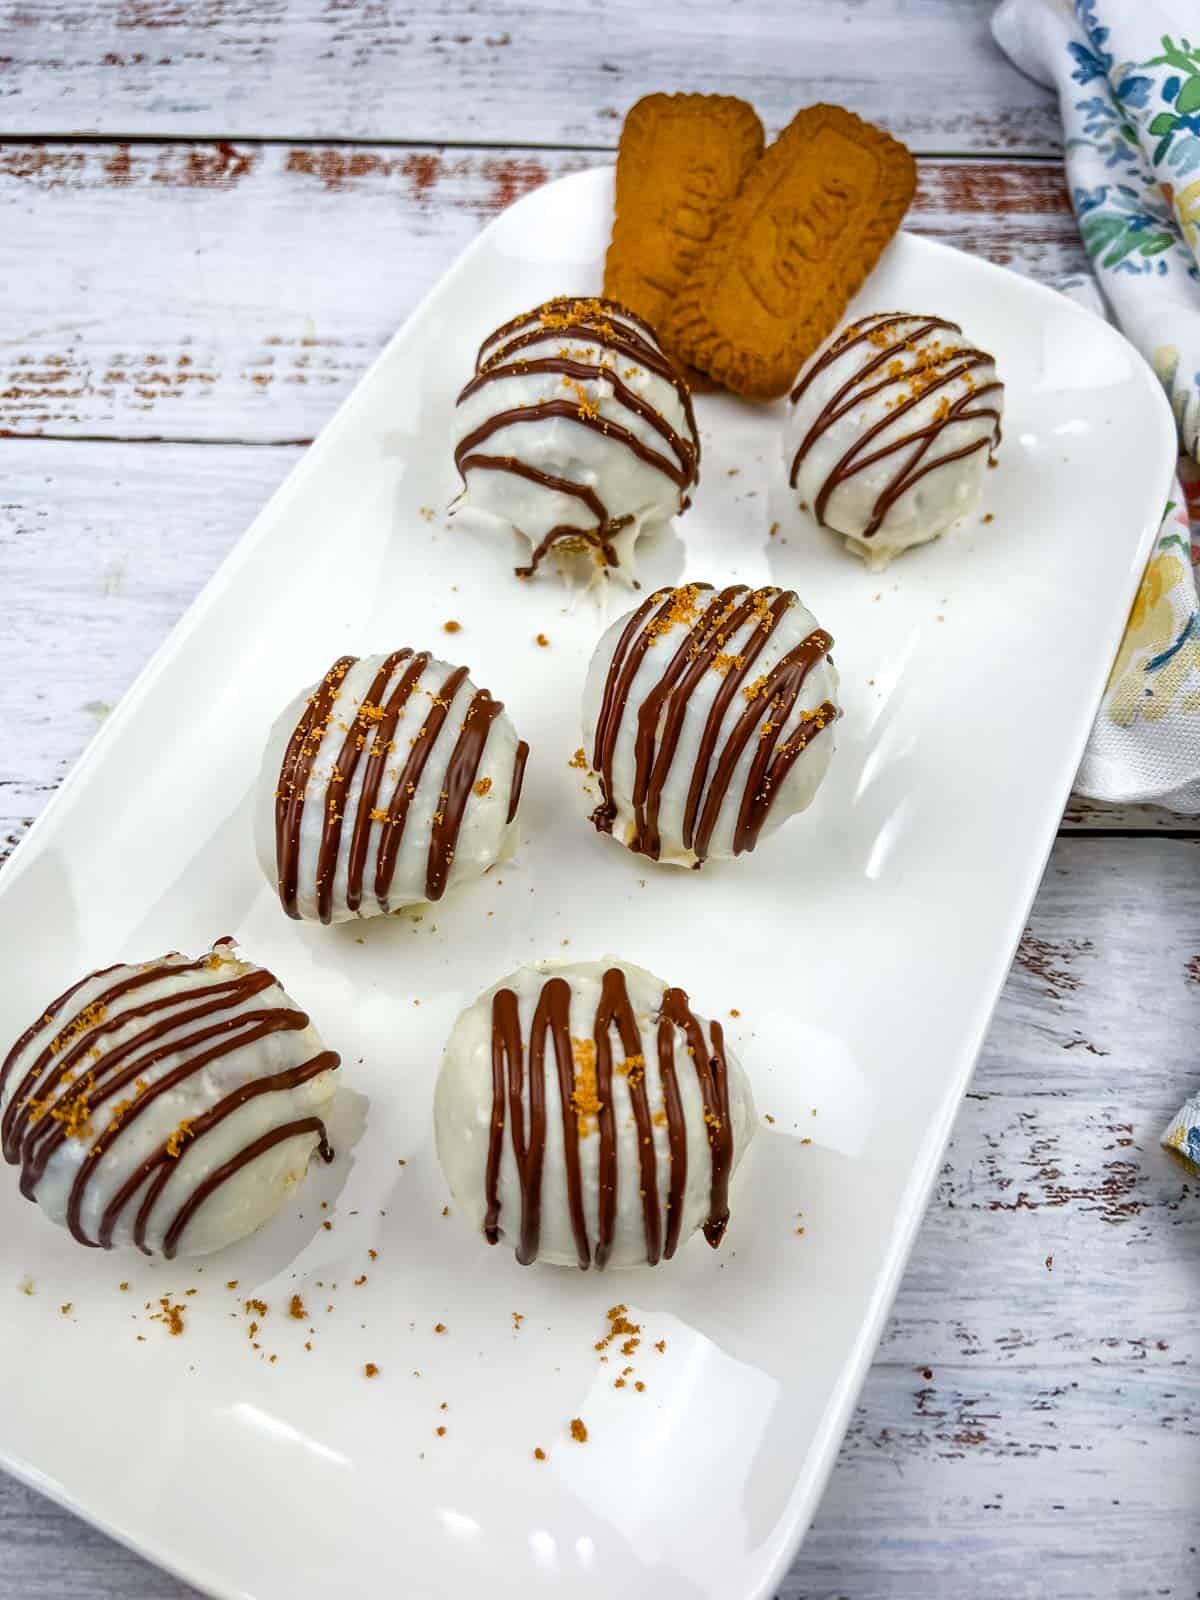
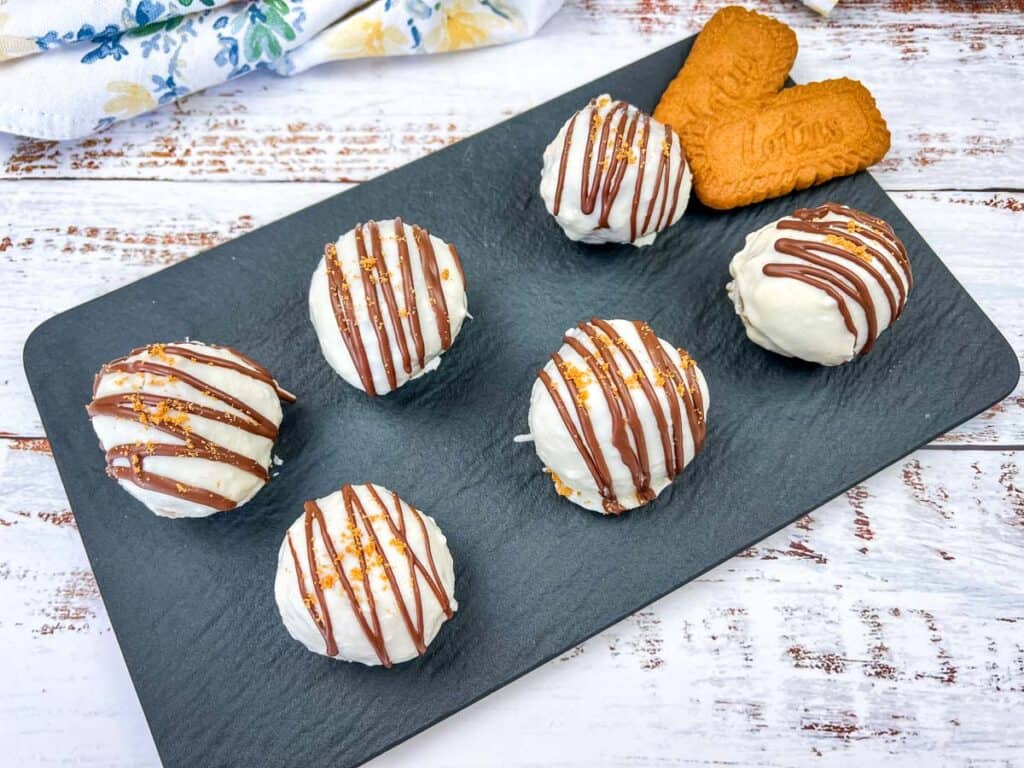
Biscoff Cookie Butter Cake Balls are so fun to make, and they’re delicious! These 2-bite cake balls are perfect for sharing, for special events, or just for snacking on. The amazing flavor of Biscoff cookie butter really comes through, making each bite a tasty treat!
I love making cake balls with the kids, and these Biscoff Cookie Butter Cake Balls are no exception. Instead of store-bought frosting, I make my own Biscoff frosting which adds the perfect amount of flavor to the cake balls.
And, it all starts with a box of cake mix. You can make the cake even a day or two ahead of time. I find that the best cake balls are made with cake that’s a little bit on the dry side as the balls stay together better.
Then, make the frosting and roll the balls!
Using candy melts is the second secret to this recipe. White chocolate needs to be tempered to form a shell coating, but candy melts are perfect! And, they’re less expensive than chocolate. I get them from Hobby Lobby or Michael’s by the bag. They’re so easy to work with!
Ready for a bite of deliciousness? Make these Biscoff Cookie Butter Cake Balls today!
What You’ll Love About Biscoff Cookie Butter Cake Balls
- The rich, caramel-like taste of Biscoff cookie butter makes each bite delicious.
- This is a great recipe to make with kids. They love rolling the cake balls!
- Each cake ball is about the size of a ping-pong ball, which is perfect for 2 bites.
- The candy coating shell makes them mess free and easy to eat.
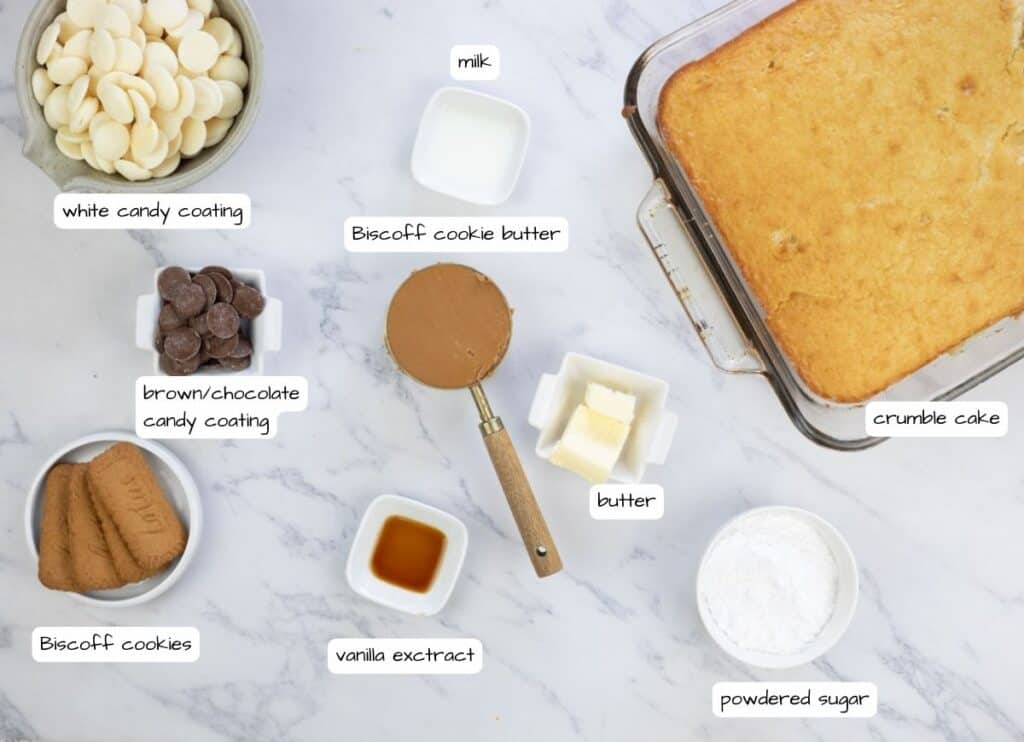
Ingredients
- Vanilla cake mix
- Biscoff cookie butter
- Butter – Softened.
- Vanilla extract
- Powdered sugar
- Milk
- White candy coating
- Brown/chocolate candy coating
- Biscoff cookies – Crushed.
How To Make Biscoff Cookie Butter Cake Balls
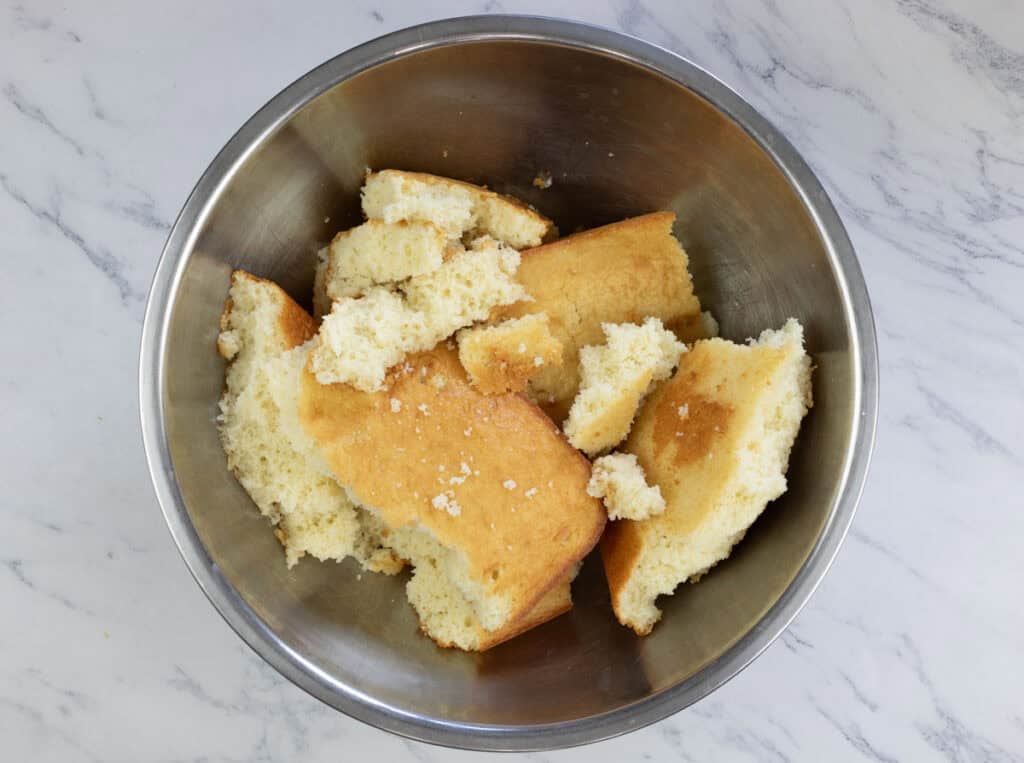
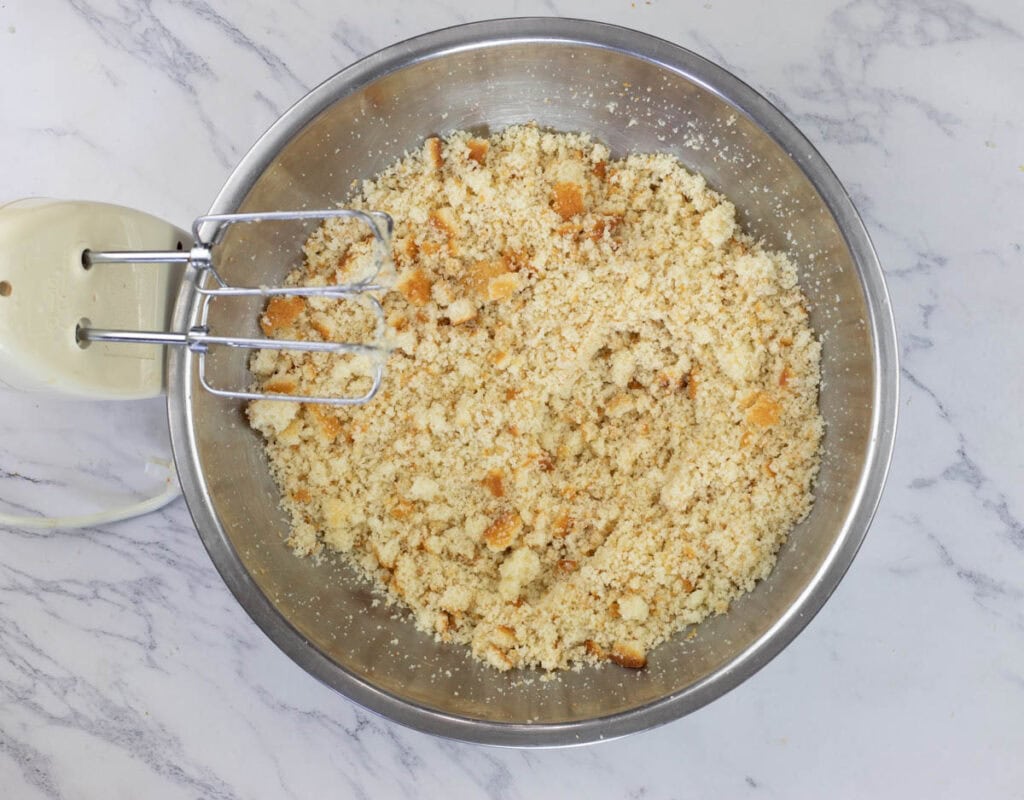
- Crumble the cooled vanilla cake into a large bowl until no large chunks remain. I love using my electric hand mixer for this. It makes short work of the cake!
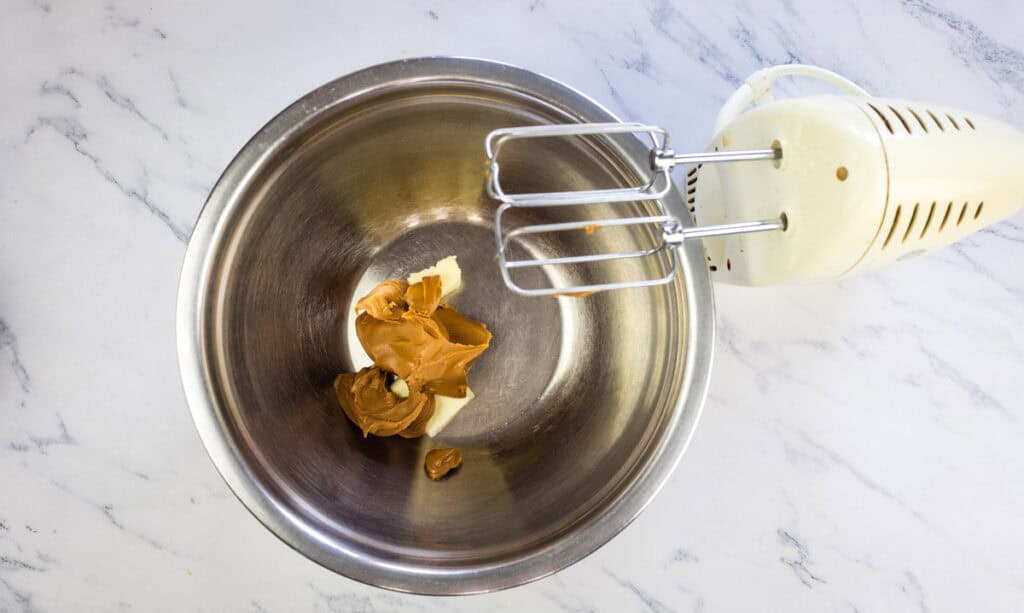
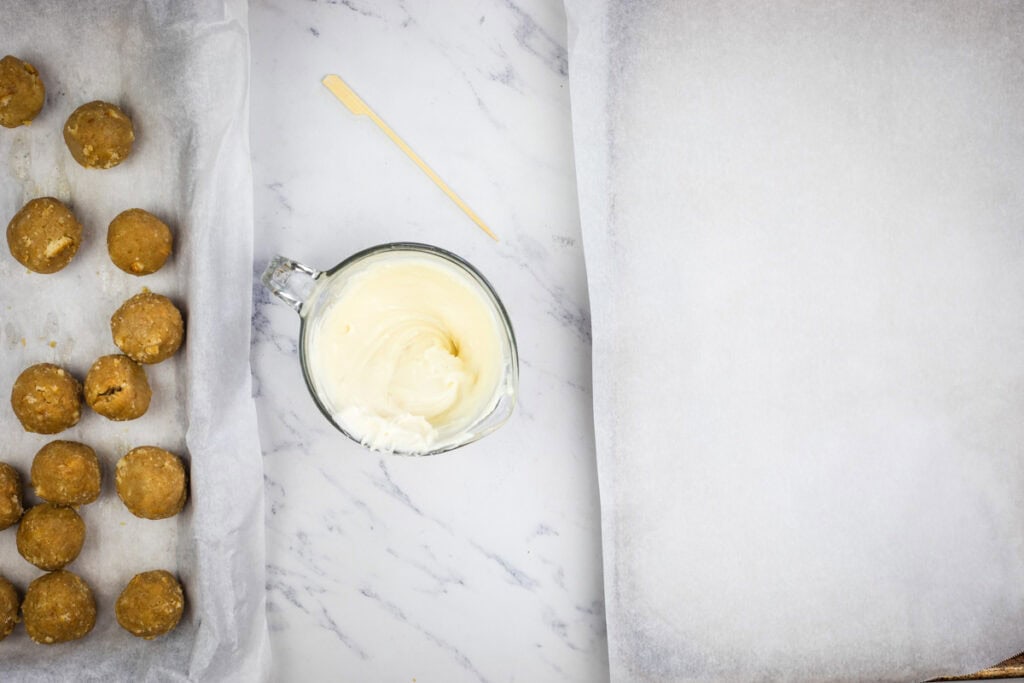
- Make the frosting by whipping the cookie butter and butter in the bowl of a stand mixer or with your hand mixer.
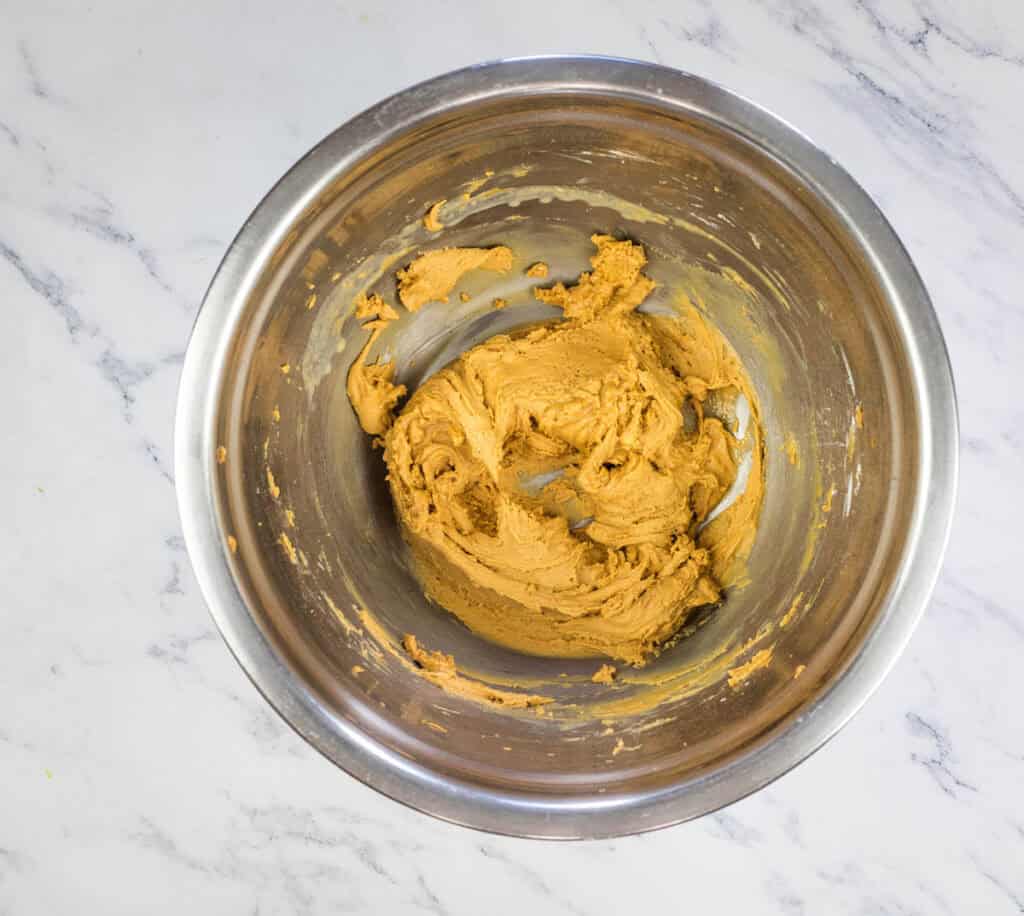
- Whip in the vanilla extract, then turn the speed to low and mix in the powdered sugar until combined. Add a spoonful of milk at a time until the frosting is smooth and easily spreadable.
- Add about half the frosting to the crumbled cake and mix. Add enough frosting, a bit more at a time, until you can form balls that stay together.
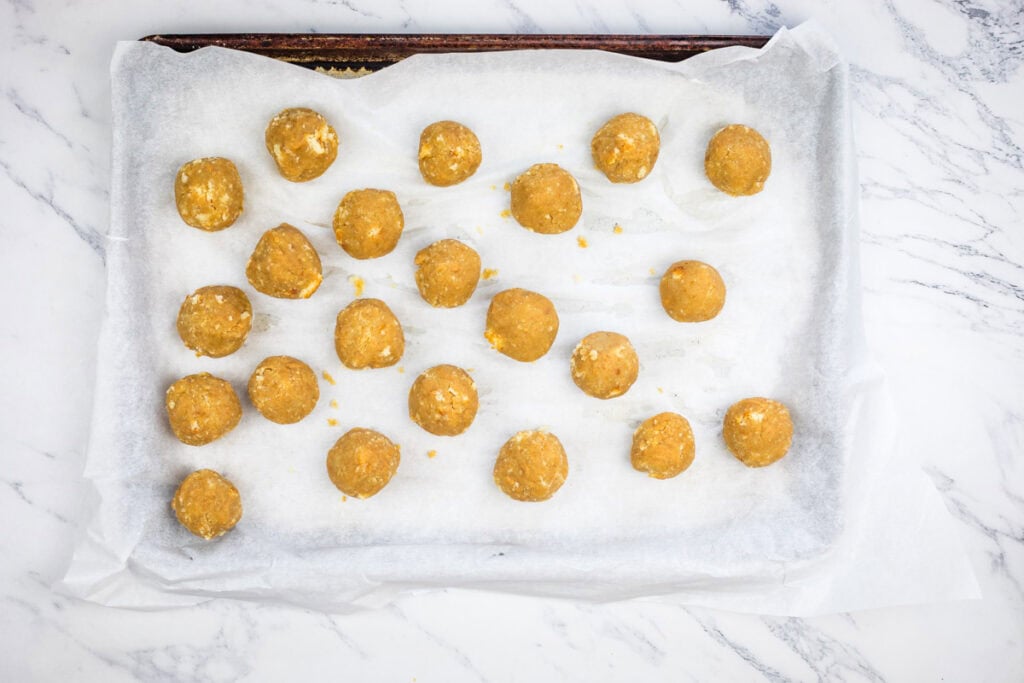
- Roll the mixture into small balls about the size of a ping-pong ball, and place them on a parchment-lined baking sheet.
- Chill the cake balls in the freezer for at least 2 hours to firm up.
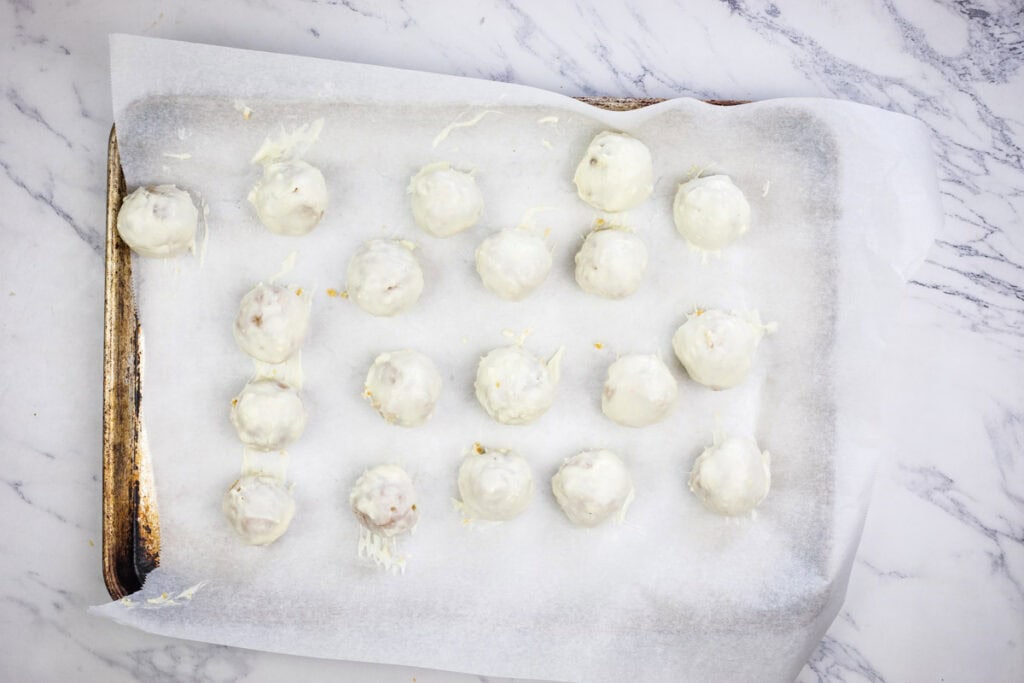
- Melt the white candy coating according to package instructions, ensuring it’s smooth and fluid. If it’s too thick you can add a tablespoon of coconut oil.
- Dip each chilled cake ball into the melted white candy coating using a fork, letting the excess drip off.
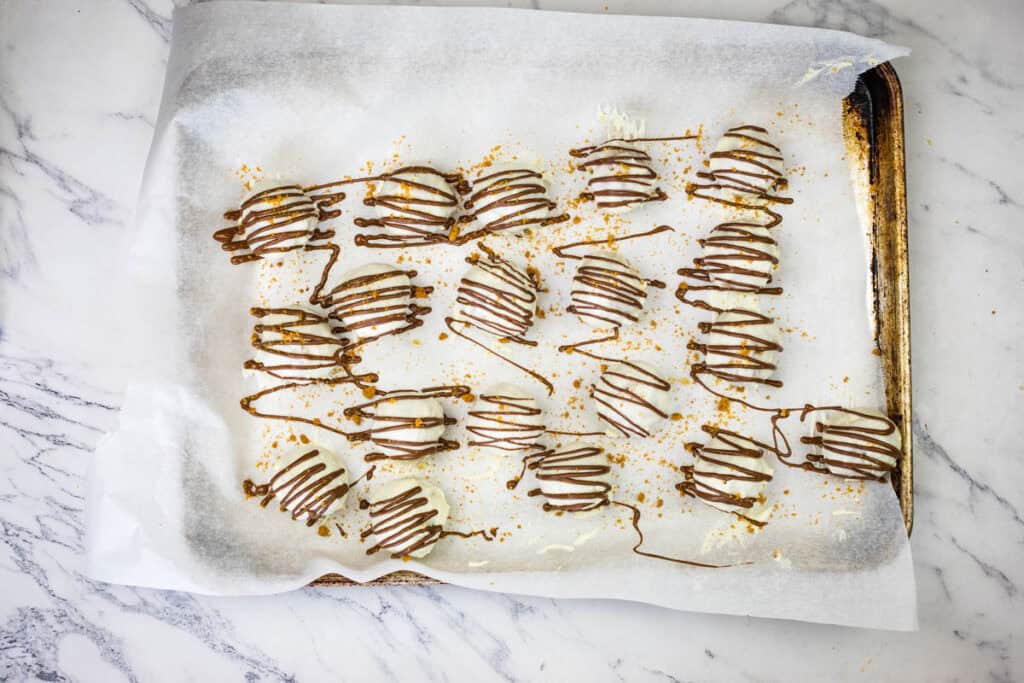
- Place the coated balls back onto the parchment paper and let them set up.
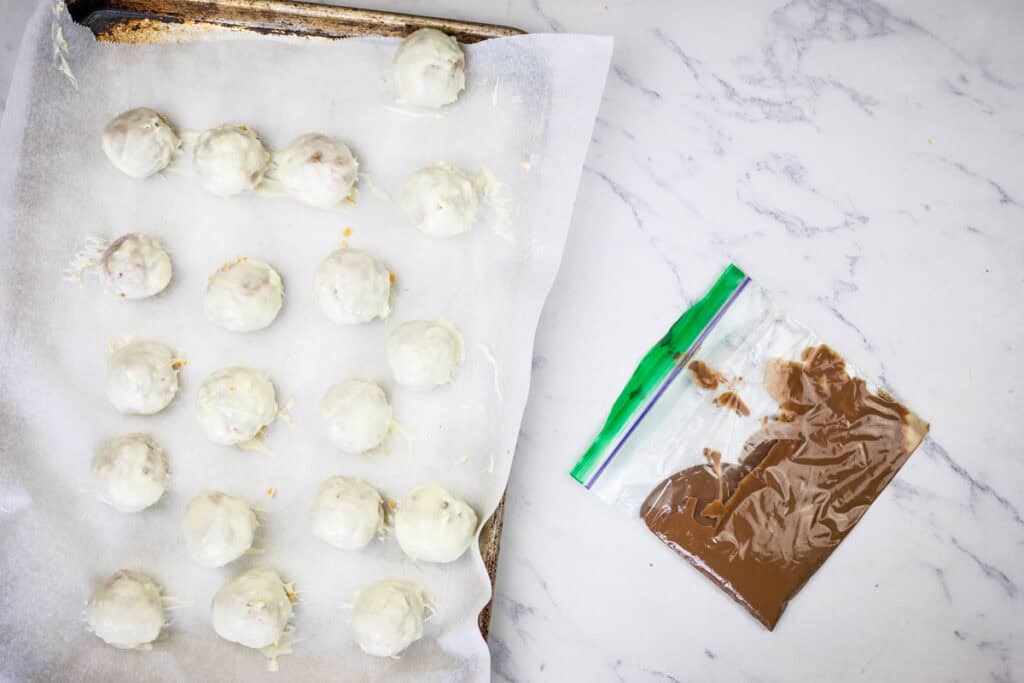
- Melt the brown/chocolate candy coating and transfer it to a zipper-top bag with one corner cut off. Drizzle it over the cake balls, then top it with the crushed cookies while still wet.
- Allow the cake balls to set completely at room temperature or in the refrigerator.
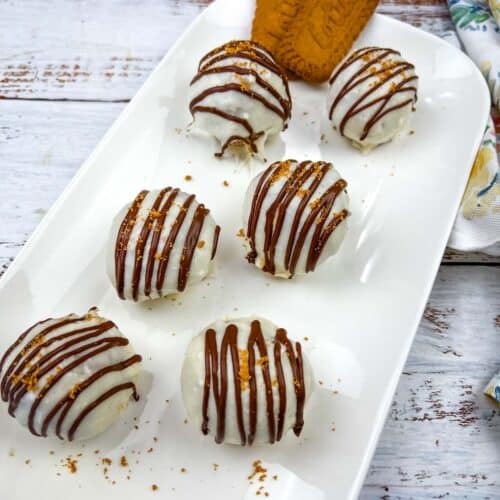
- Serve and enjoy!
Step-By-Step Process

Heather’s Tried-and-True Tips
- To ensure evenly sized balls, use a cookie scoop to measure out the cake mixture.
- If the candy coating becomes too thick, add a bit of coconut oil or vegetable oil to thin it for easier dipping.
- For a festive touch, use themed sprinkles or different colors of candy coatings, depending on the occasion.
- Cake balls can be made in advance and are a great way to use up leftover cake.
Serving Suggestions
Biscoff Cookie Butter Cake Balls are a tasty and fun finish to any meal. Or, pair them with a cup of strong coffee or a glass of cold milk to balance their sweetness. They also make a great accompaniment to a light, fruity sorbet or a scoop of vanilla ice cream, providing a tasty contrast of flavors and textures.
Storage
To keep your Biscoff Cookie Butter Cake Balls fresh, store them in an airtight container at room temperature for up to 5 days. For longer storage, refrigerate them for up to 2 weeks or freeze them for up to 2 months. When ready to serve, simply allow them to come to room temperature to ensure the best flavor and texture.
Biscoff Cookie Butter Cake Balls
Ingredients
- 1 box vanilla cake mix prepared according to the package directions and cooled
- ½ cup Biscoff cookie butter
- 2 tablespoons butter softened
- ¼ teaspoon vanilla extract
- ½ cup powdered sugar
- 2-3 tablespoons milk as needed
- 2 cups white candy coating about 1 package
- 1/4 cup brown/chocolate candy coating
- 2 Biscoff cookies crushed
Instructions
- Crumble the cooled vanilla cake into a large bowl until no large chunks remain. I love using my electric hand mixer for this. It makes short work of the cake!
- Make the frosting by whipping the cookie butter and butter in the bowl of a stand mixer or with your hand mixer.
- Whip in the vanilla extract, then turn the speed to low and mix in the powdered sugar until combined. Add a spoonful of milk at a time until the frosting is smooth and easily spreadable.
- Add about half the frosting to the crumbled cake and mix. Add enough frosting, a bit more at a time, until you can form balls that stay together.
- Roll the mixture into small balls about the size of a ping-pong ball, and place them on a parchment-lined baking sheet.
- Chill the cake balls in the freezer for at least 2 hours to firm up.
- Melt the white candy coating according to package instructions, ensuring it's smooth and fluid. If it’s too thick you can add a tablespoon of coconut oil.
- Dip each chilled cake ball into the melted white candy coating using a fork, letting the excess drip off.
- Place the coated balls back onto the parchment paper and let them set up.
- Melt the brown/chocolate candy coating and transfer it to a zipper-top bag with one corner cut off. Drizzle it over the cake balls, then top it with the crushed cookies while still wet.
- Allow the cake balls to set completely at room temperature or in the refrigerator.
- Serve and enjoy!
Notes
Heather’s Tips
- To ensure evenly sized balls, use a cookie scoop to measure out the cake mixture.
- If the candy coating becomes too thick, add a bit of coconut oil or vegetable oil to thin it for easier dipping.
- For a festive touch, use themed sprinkles or different colors of candy coatings, depending on the occasion.
- Cake balls can be made in advance and are a great way to use up leftover cake.